Chromebook implementation

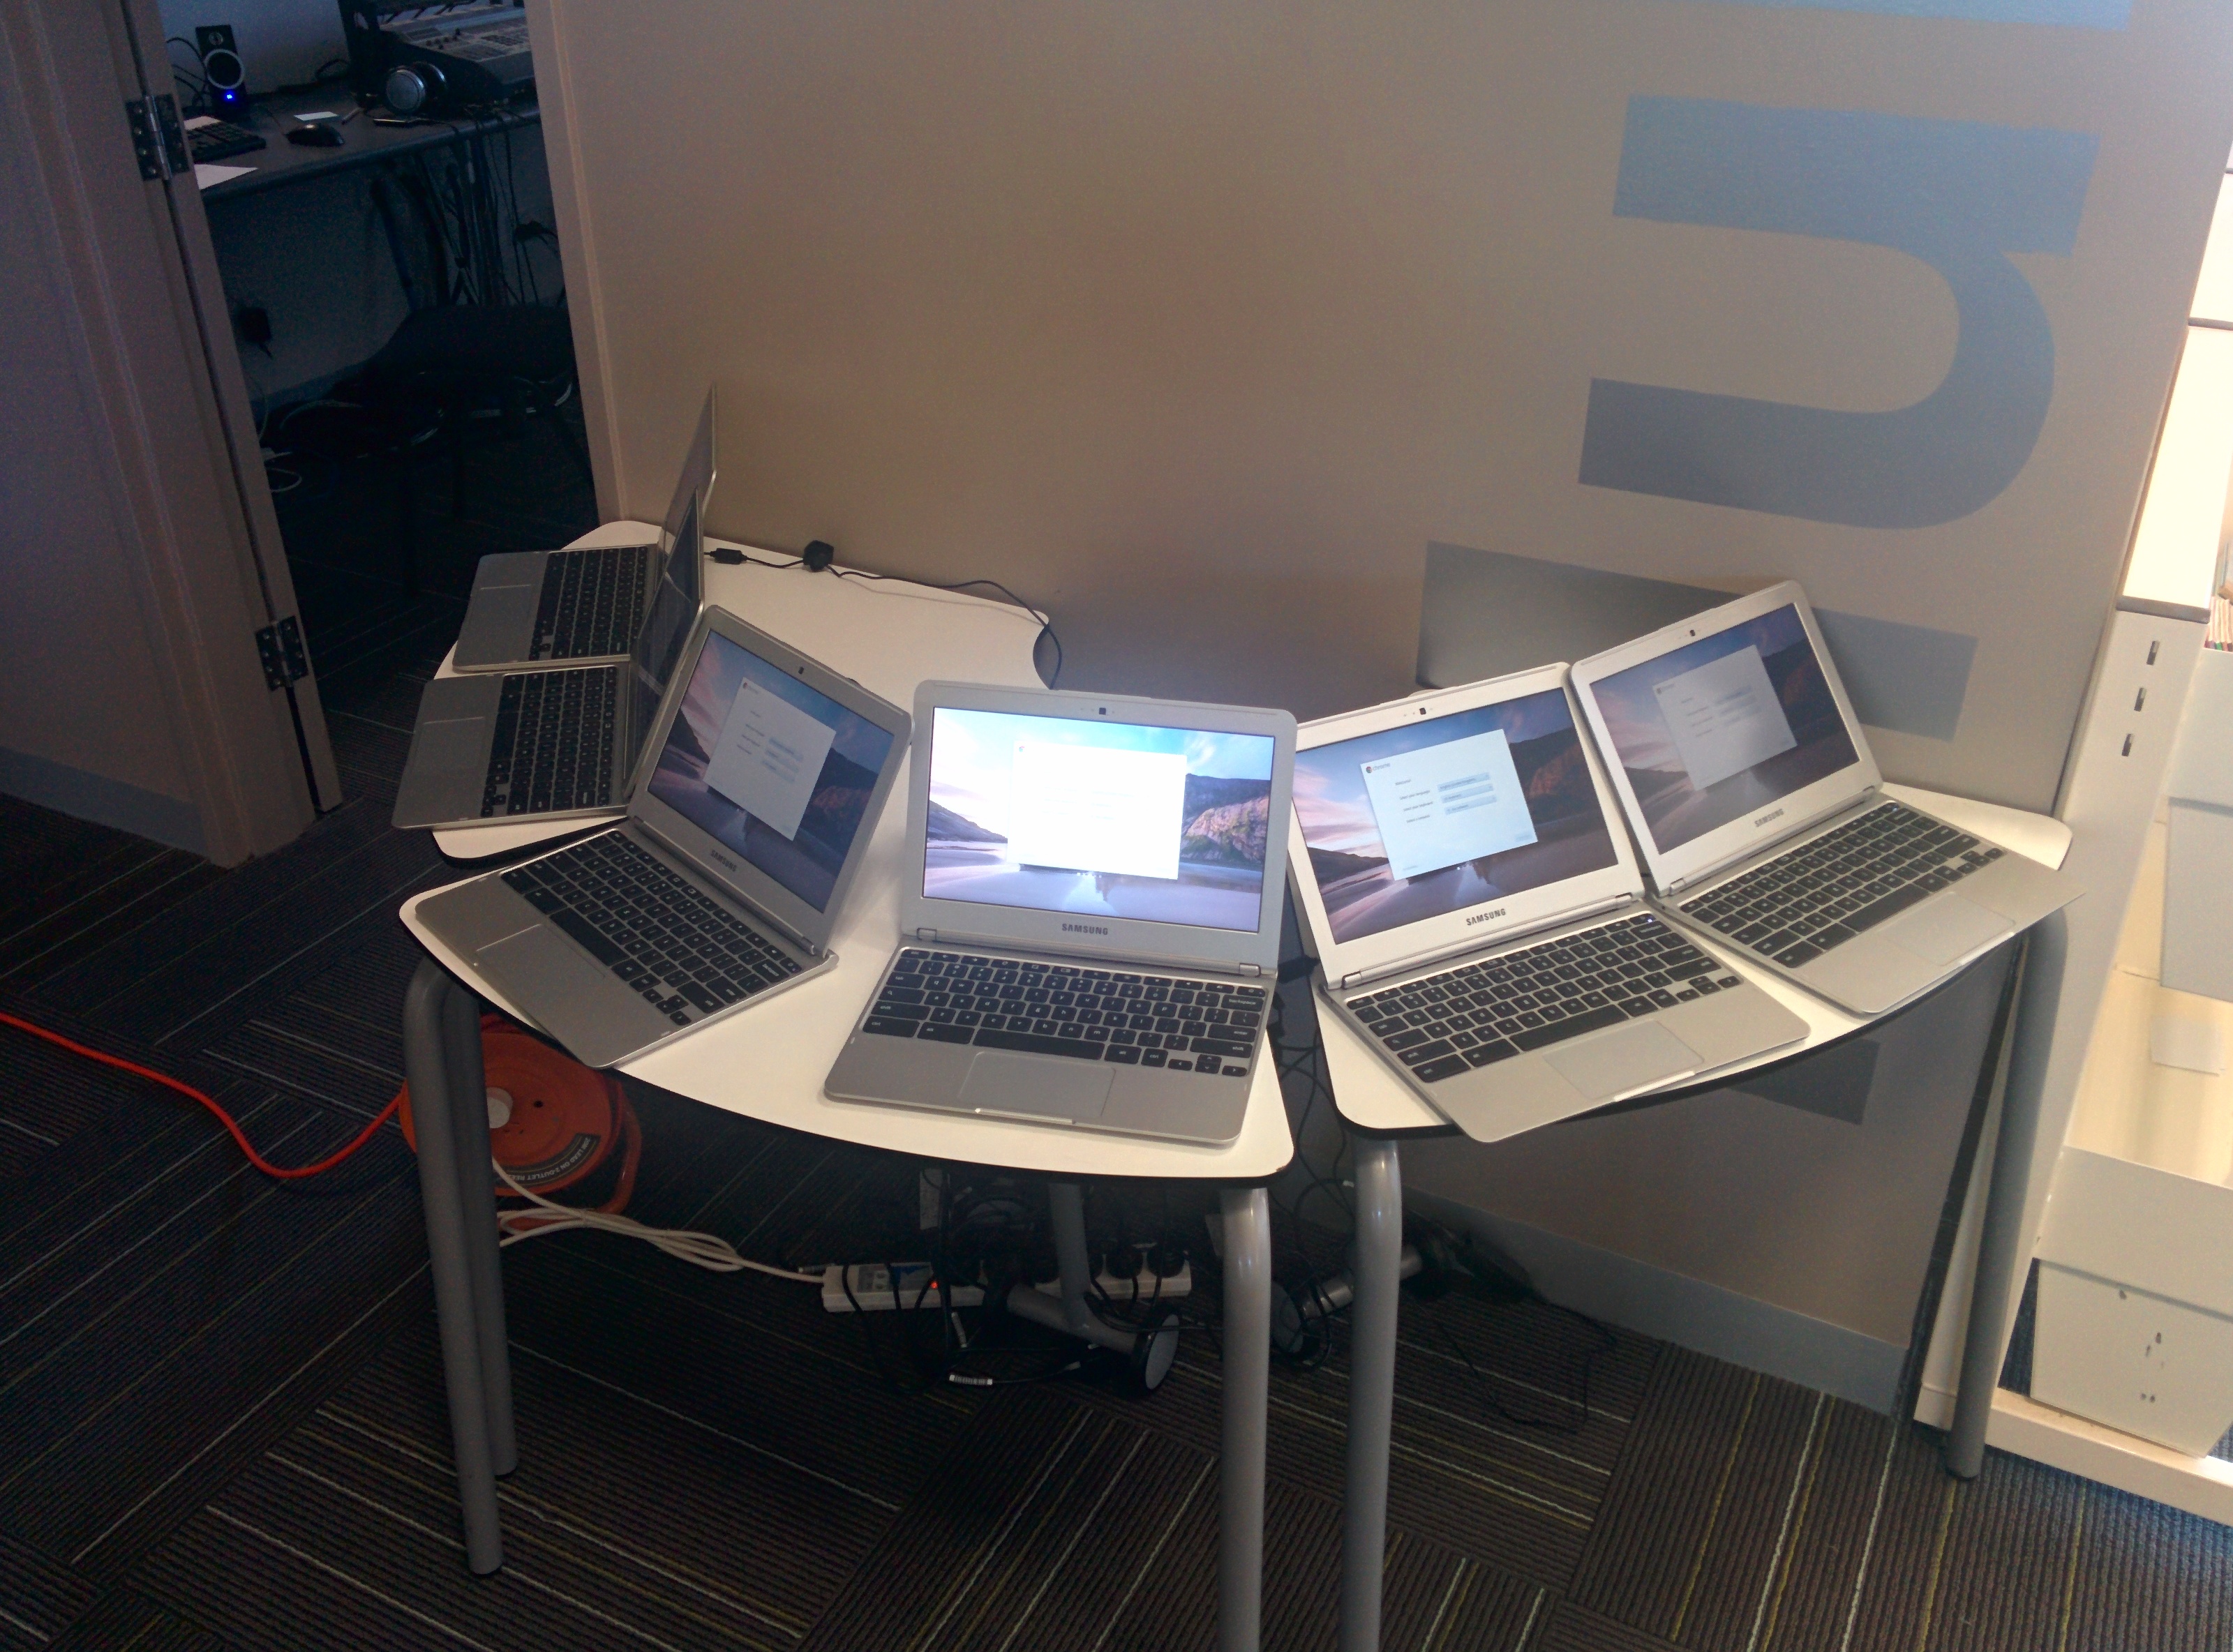
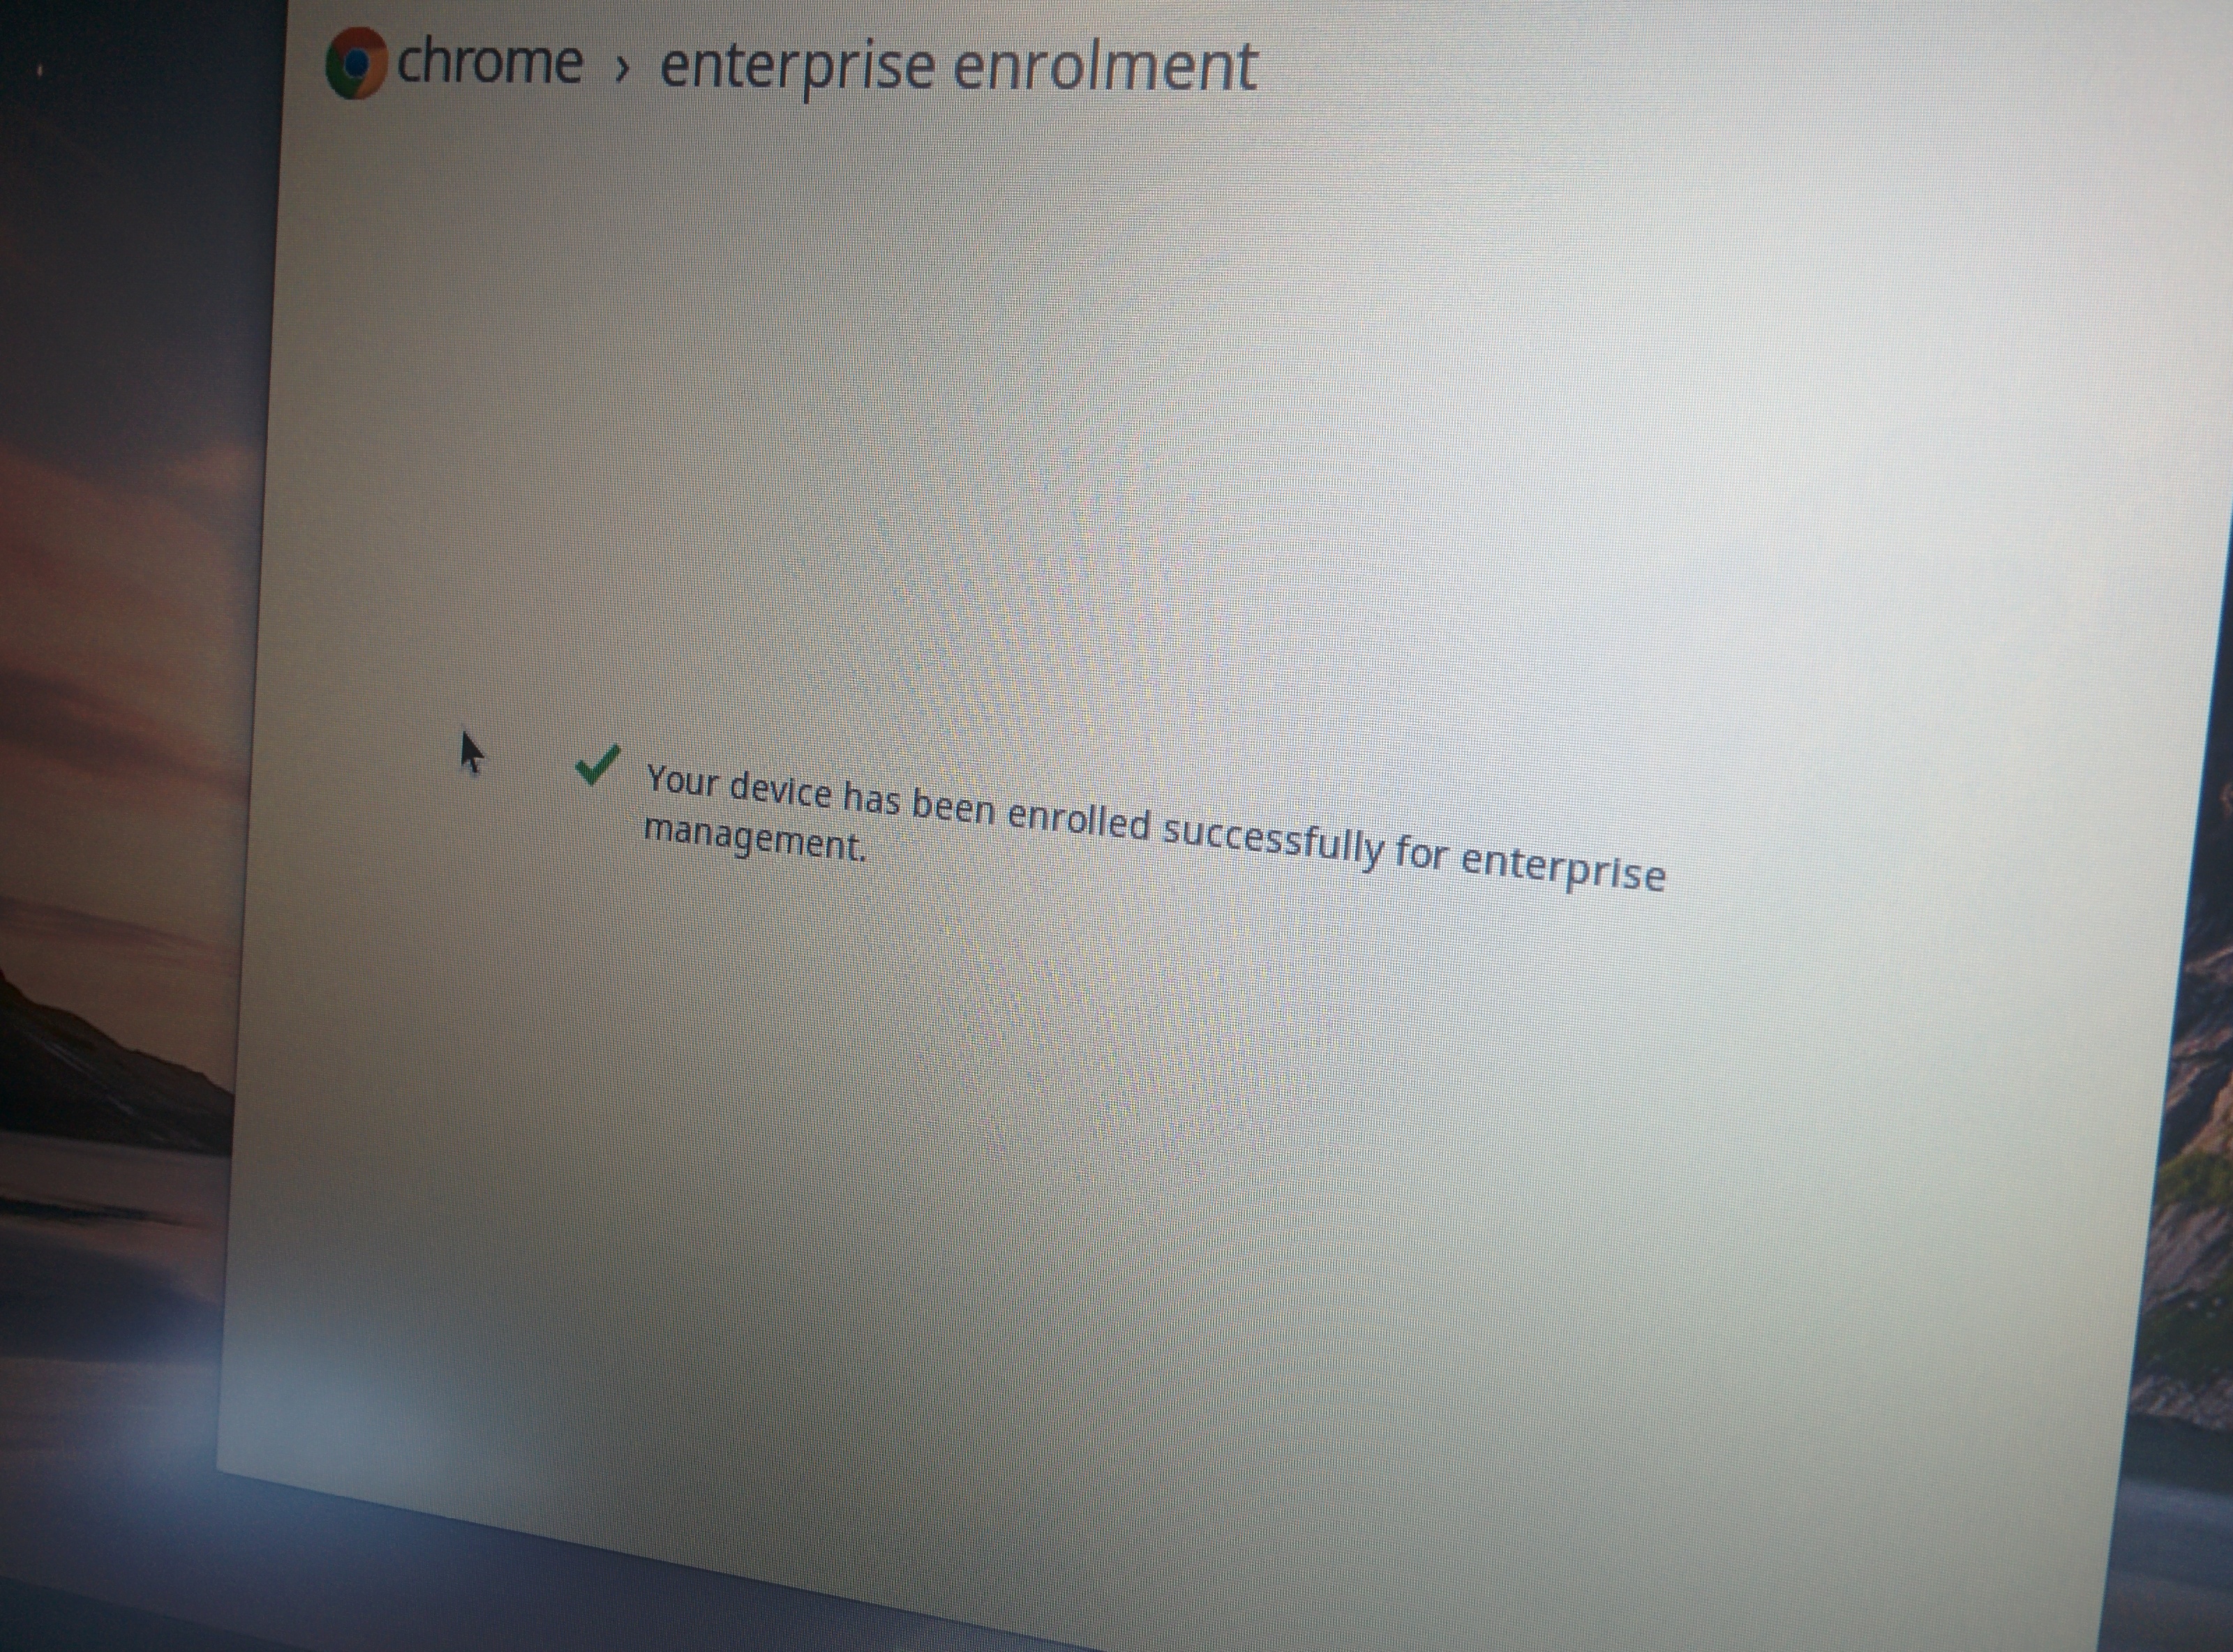
This term we have successfully set up 55 Chromebooks at our school for students in Years 1 – 4. I used Corey Aylen‘s enrollment guide. For those who are in Victorian Catholic schools, his guide will provide all of the relevant parameters to mitigate the often troublesome zscaler settings.

I have heard some negativity over Chromebooks particularly from technical staff who are not too familiar with the potential of Google Apps for Education. For me, the Chromebook is too hard too ignore for education. Some criticize that it is limited because essentially it is a laptop with just a web browser.

This is indeed true, but this is one of the best things about Chromebooks. It means it doesn’t require extensive hardware to run, which brings the cost down. Because the machine doesn’t need a fully blown operating system, it means it boots up quickly and operates with speed. In addition, most of our activity on the web is through a web browser anyway, and as technology develops, more and more is being achieved through the cloud and through the web browser.

Having said this, the Chromebook does not do everything. But it is an ideal product, for most students, for most activities, without the hefty price-tag of a machine that offers the whole kit and caboodle. Particularly for with schools who are already using Google Apps for Education, it is a winner.


The enrollment process

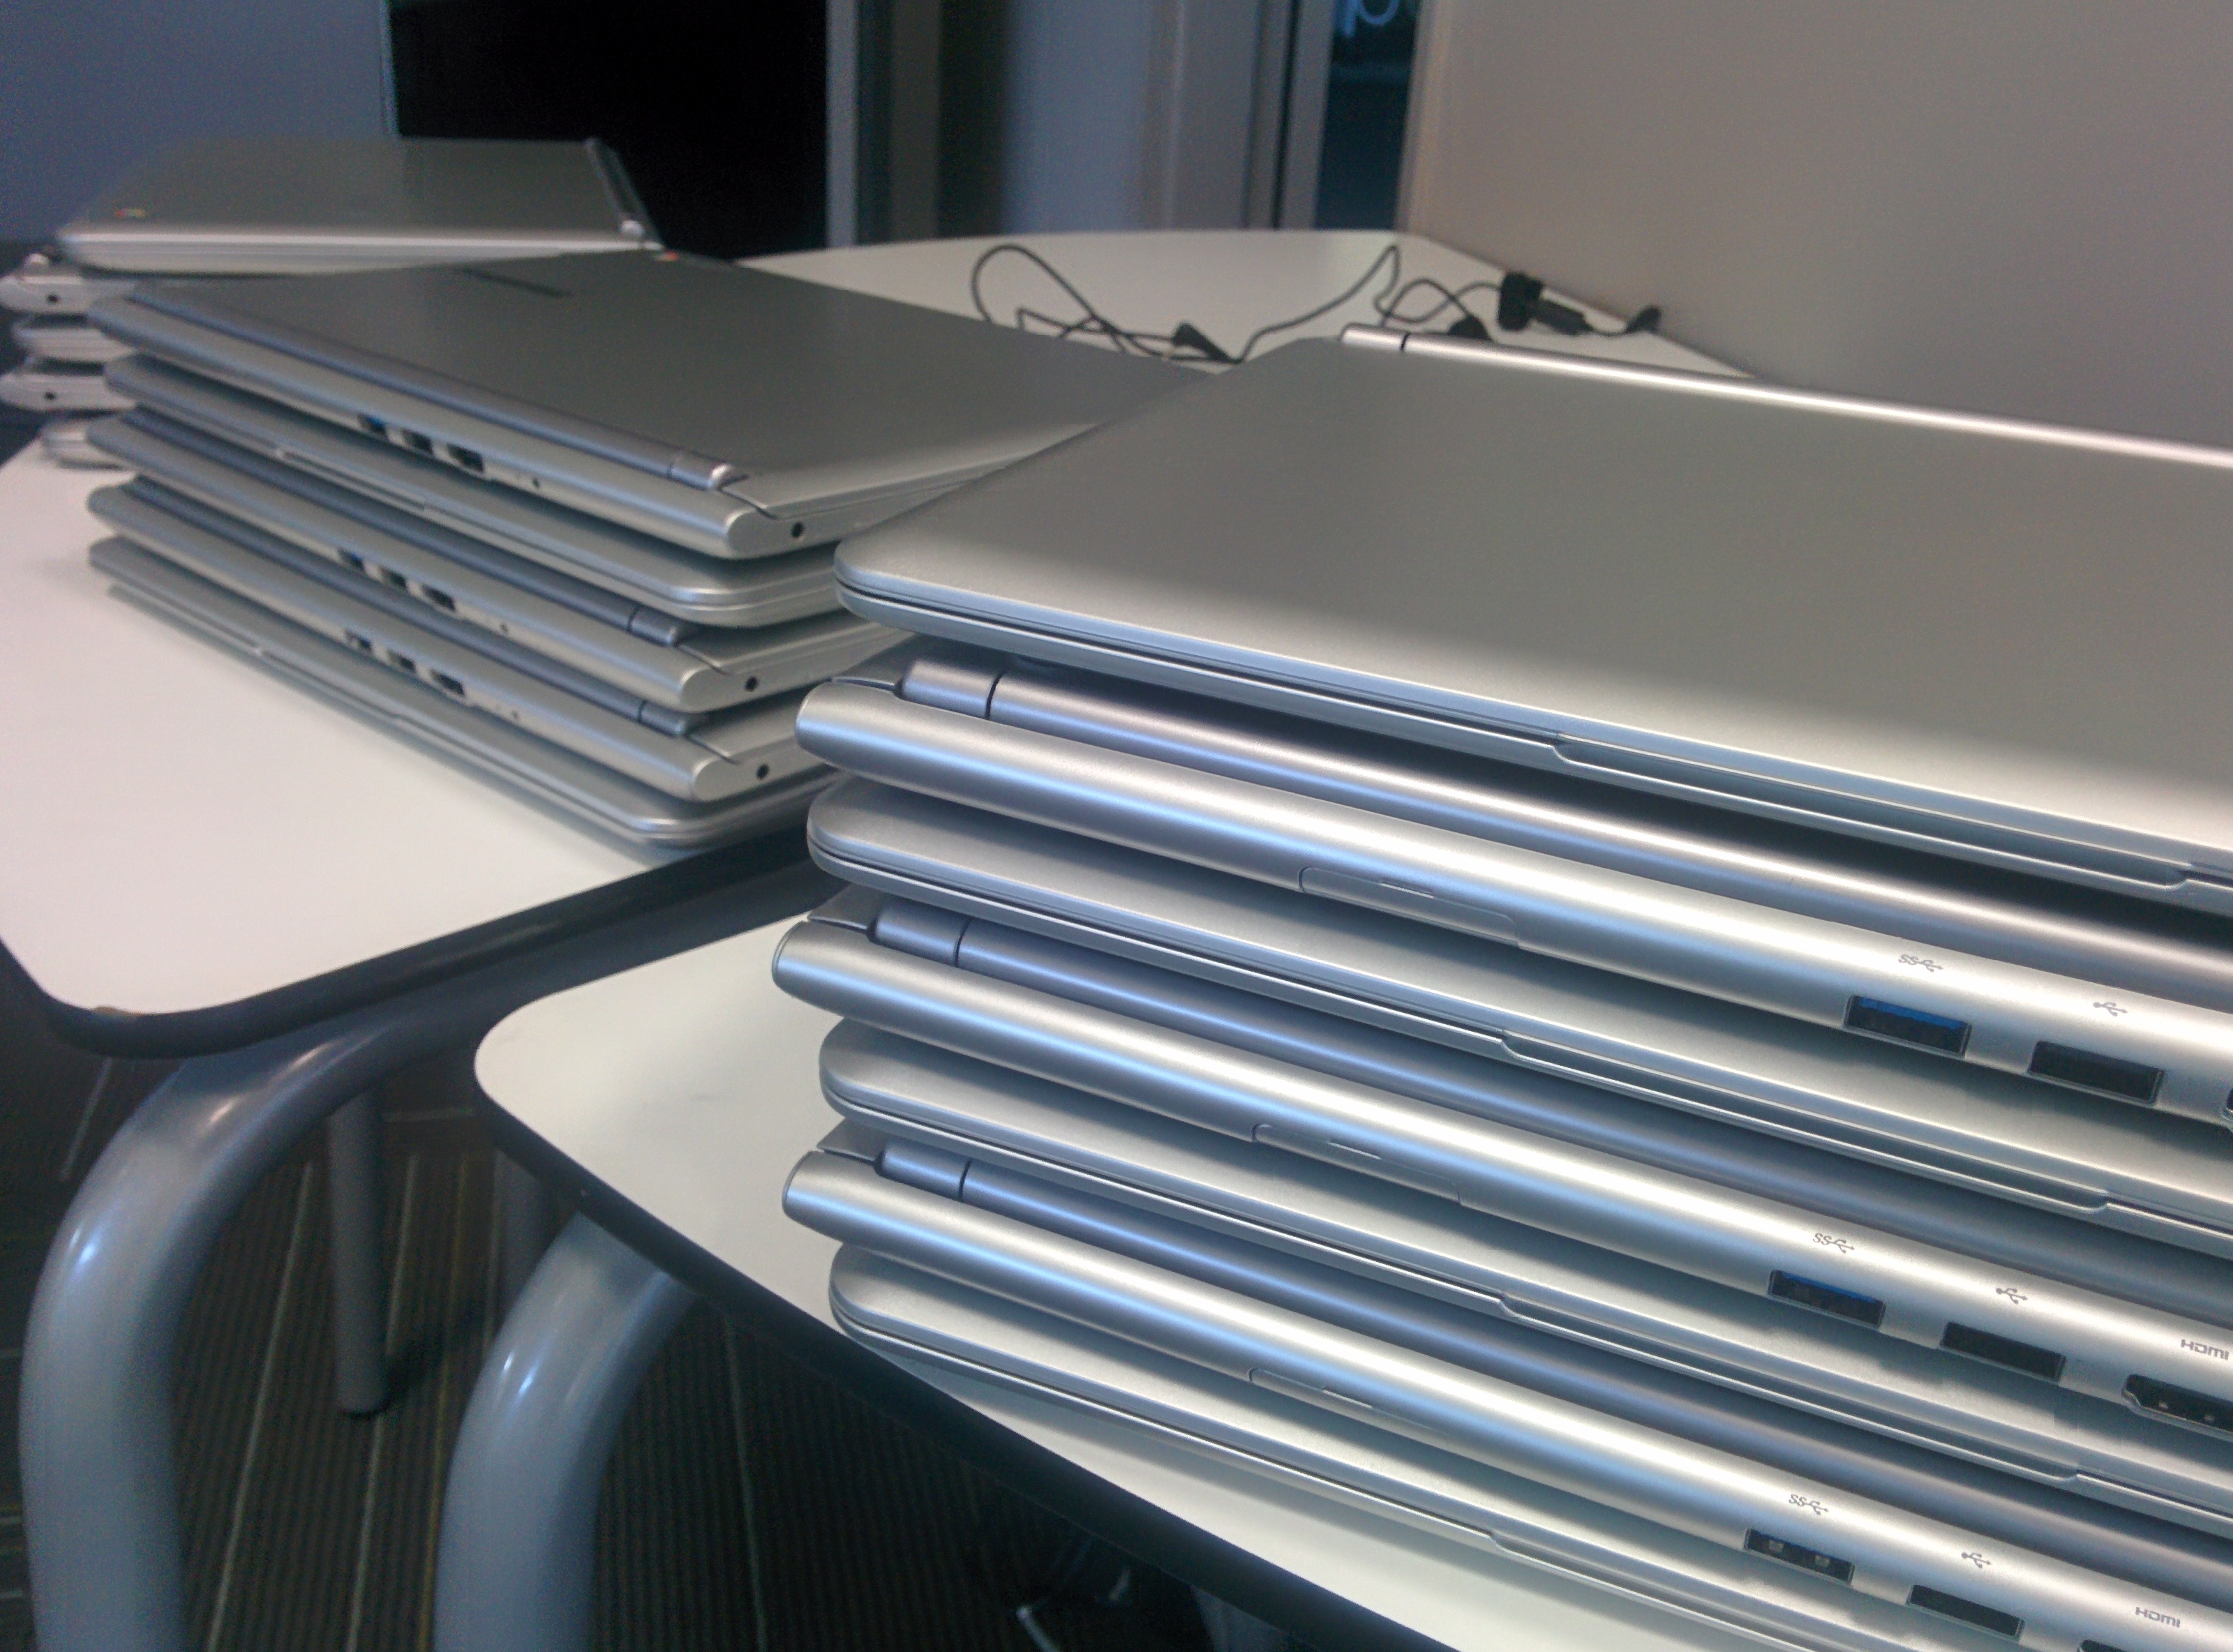
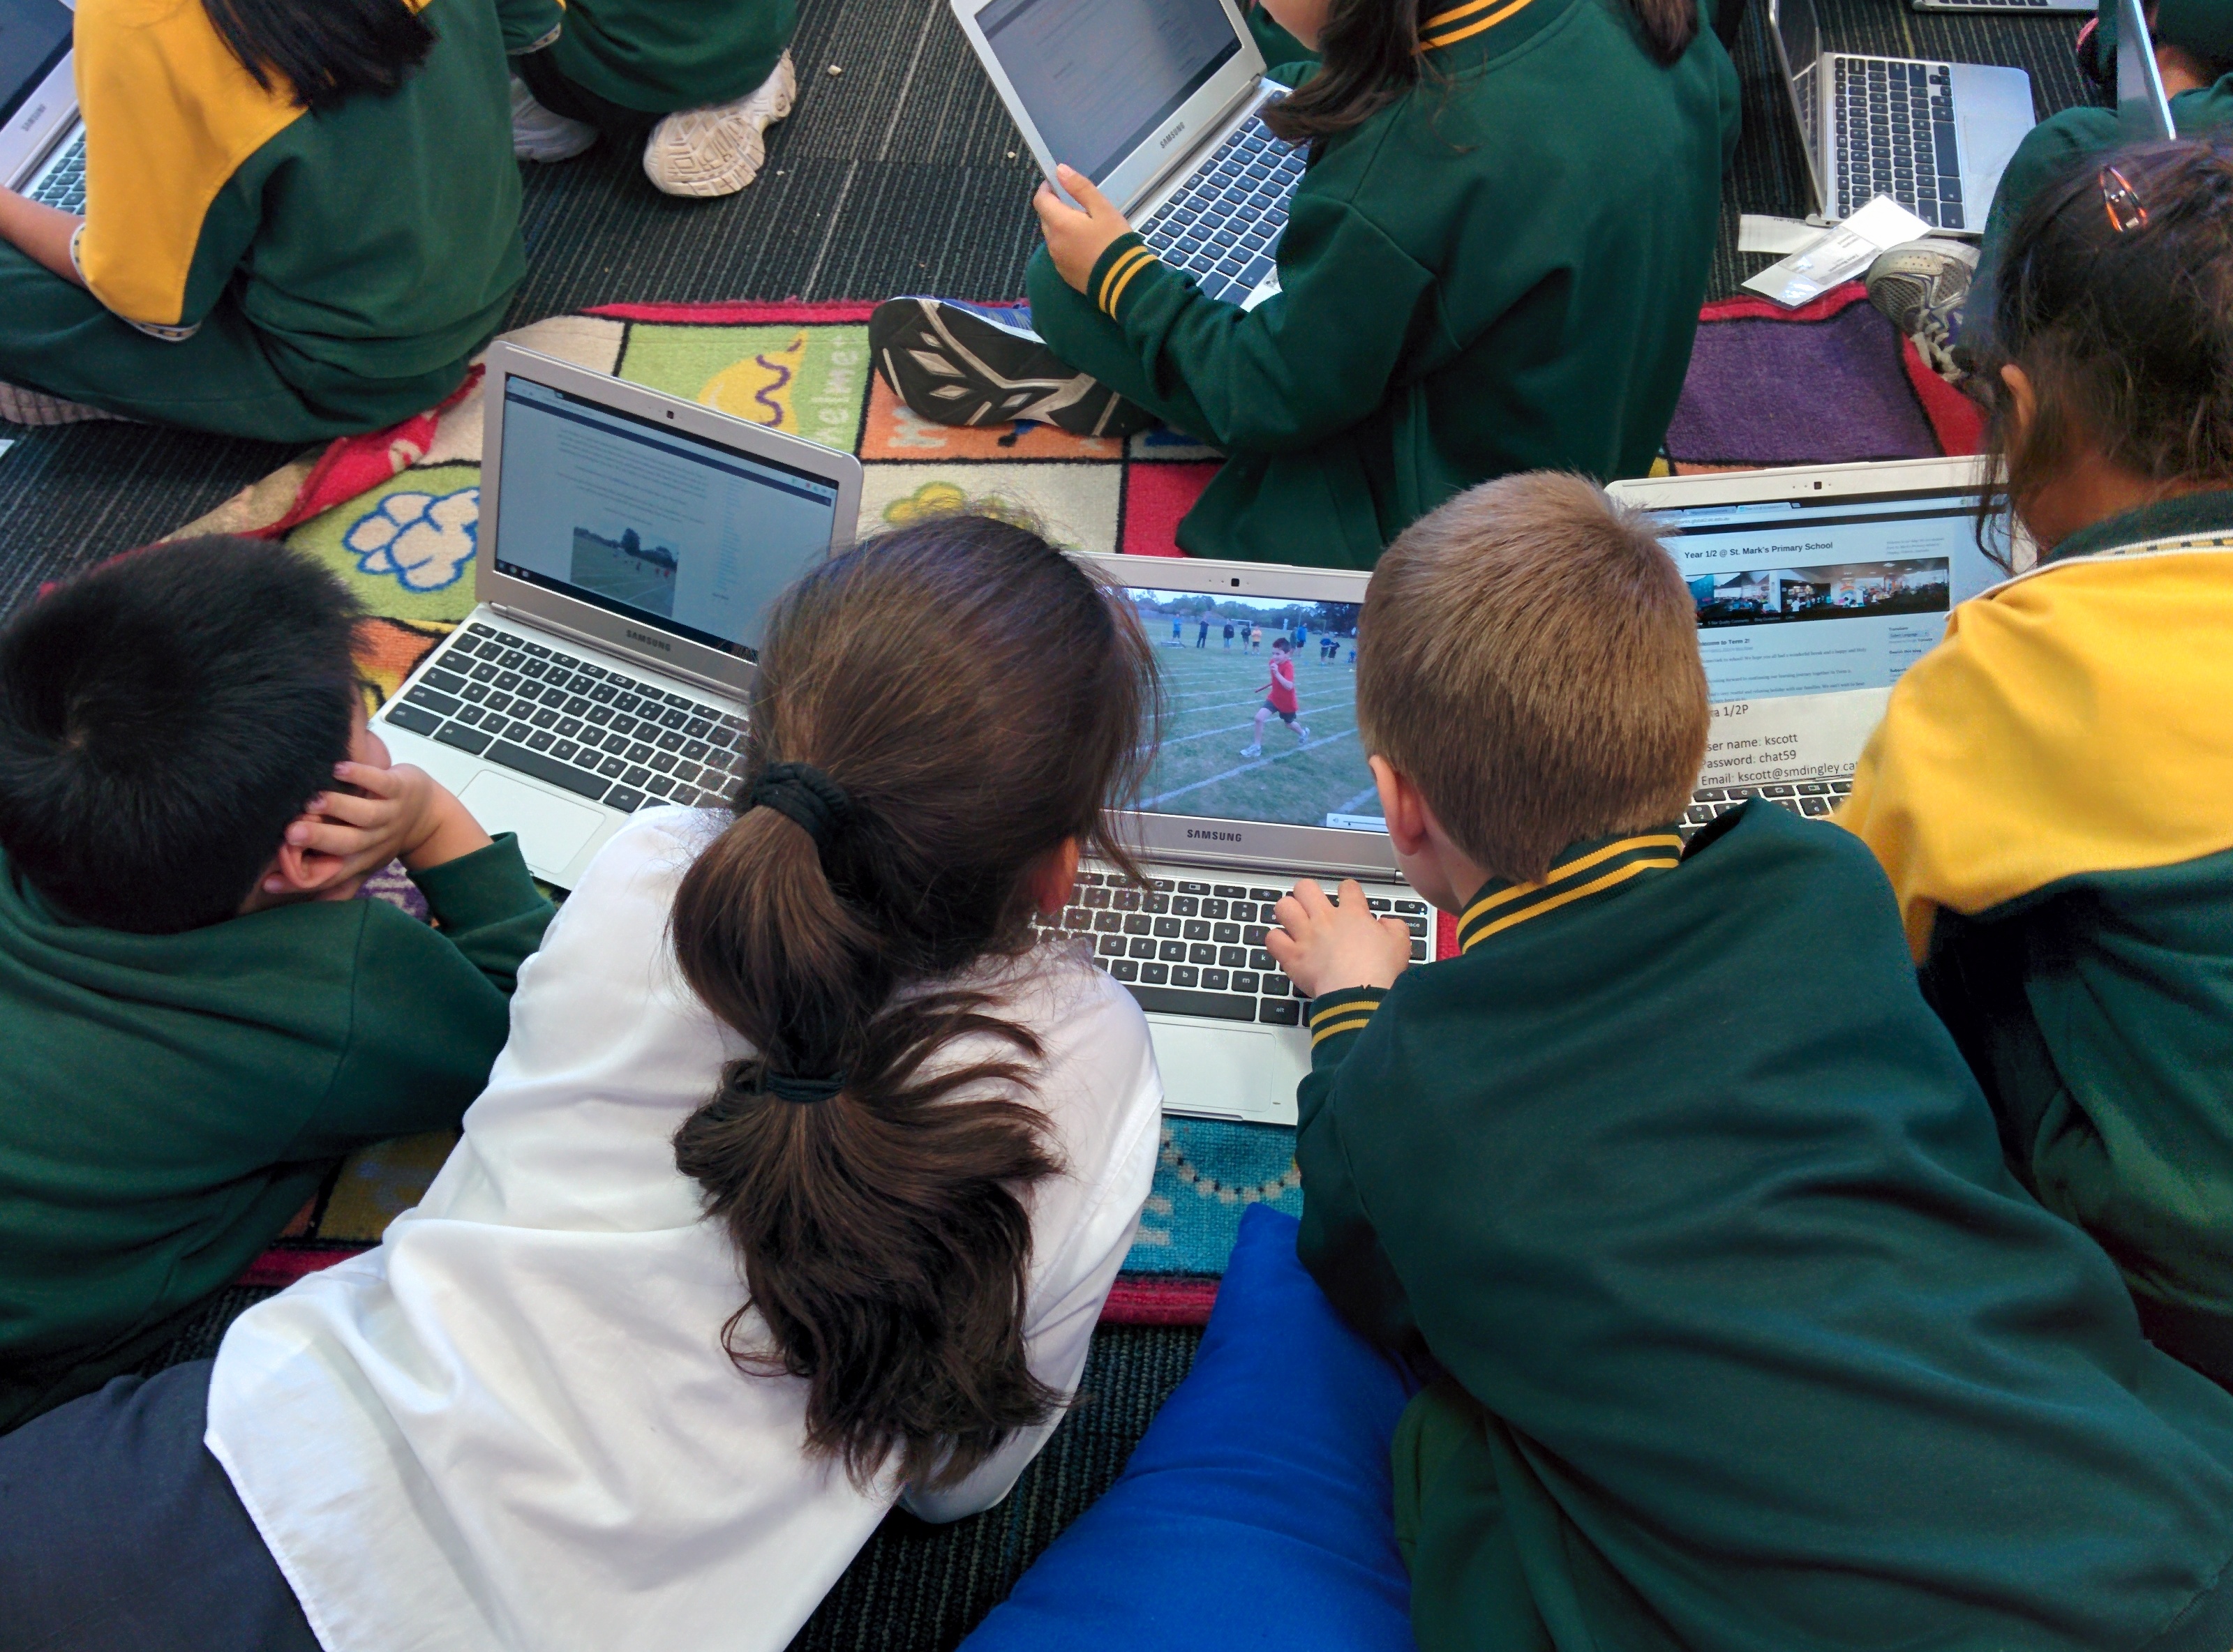
Setting up the Chromebooks was an absolute breeze (we went for this Samsung model). Once the network settings were provided to each Chromebook, the process was initiated and within a few clicks they were done. In fact, the most time consuming part of the process was unboxing the units! Having some students around to help this process was handy, not to mention enjoyable for them. I found that I had to plug in the chargers briefly to “wake up” each unit out of the box to get them on, but they had sufficient charge to complete the registration process. They were then fully charged and setup in trolleys before the first student use. We went for the PC locks Carrier 40 trolley.

IMG_20140417_123540 IMG_20140417_124120 IMG_20140417_145844

Integration with GAFE

Through the GAFE admin console, each device can be tracked and monitored for recent activity. Settings can be modified accordingly to suit your needs, and updates are carried out automatically when they are received (and don’t take forever unlike Windows updates!)

At the moment we have pushed out a few Apps from the Chrome Web Store to the students; Design Something, Build With Chrome, Mind Meister, Pixlr, and Typing Club. The pre-installed extensions we have selected are Speak It!, Google Dictionary, and Read & Write. Students are not able to install other apps or extensions from the Chrome Web Store.

Benefits for teachers and students

Teachers have already reported the efficiency improvements in the time taken to get students connected to the web, saving precious moments in the classroom. This is because the Chromebooks boot up in under 10 seconds, and the Chrome browser is ready at the user’s disposal once logged in. This has been a significant reduction in log on times compared to Windows 8 laptops / desktops, not necessarily at bootup, but more so in loading network policies and connecting to servers.

IMG_20140430_150615 IMG_20140430_151317

To make the process even faster, we have numbered each Chromebook and assigned students to a particular machine. It does take a few moments to setup a user account for the first time and download all the pre-installed apps and extensions (this is why we have kept the pre-installed suite to a minimum). For each subsequent time users log on to a machine, they wont go through this process unless there are new Apps / Extensions to install.

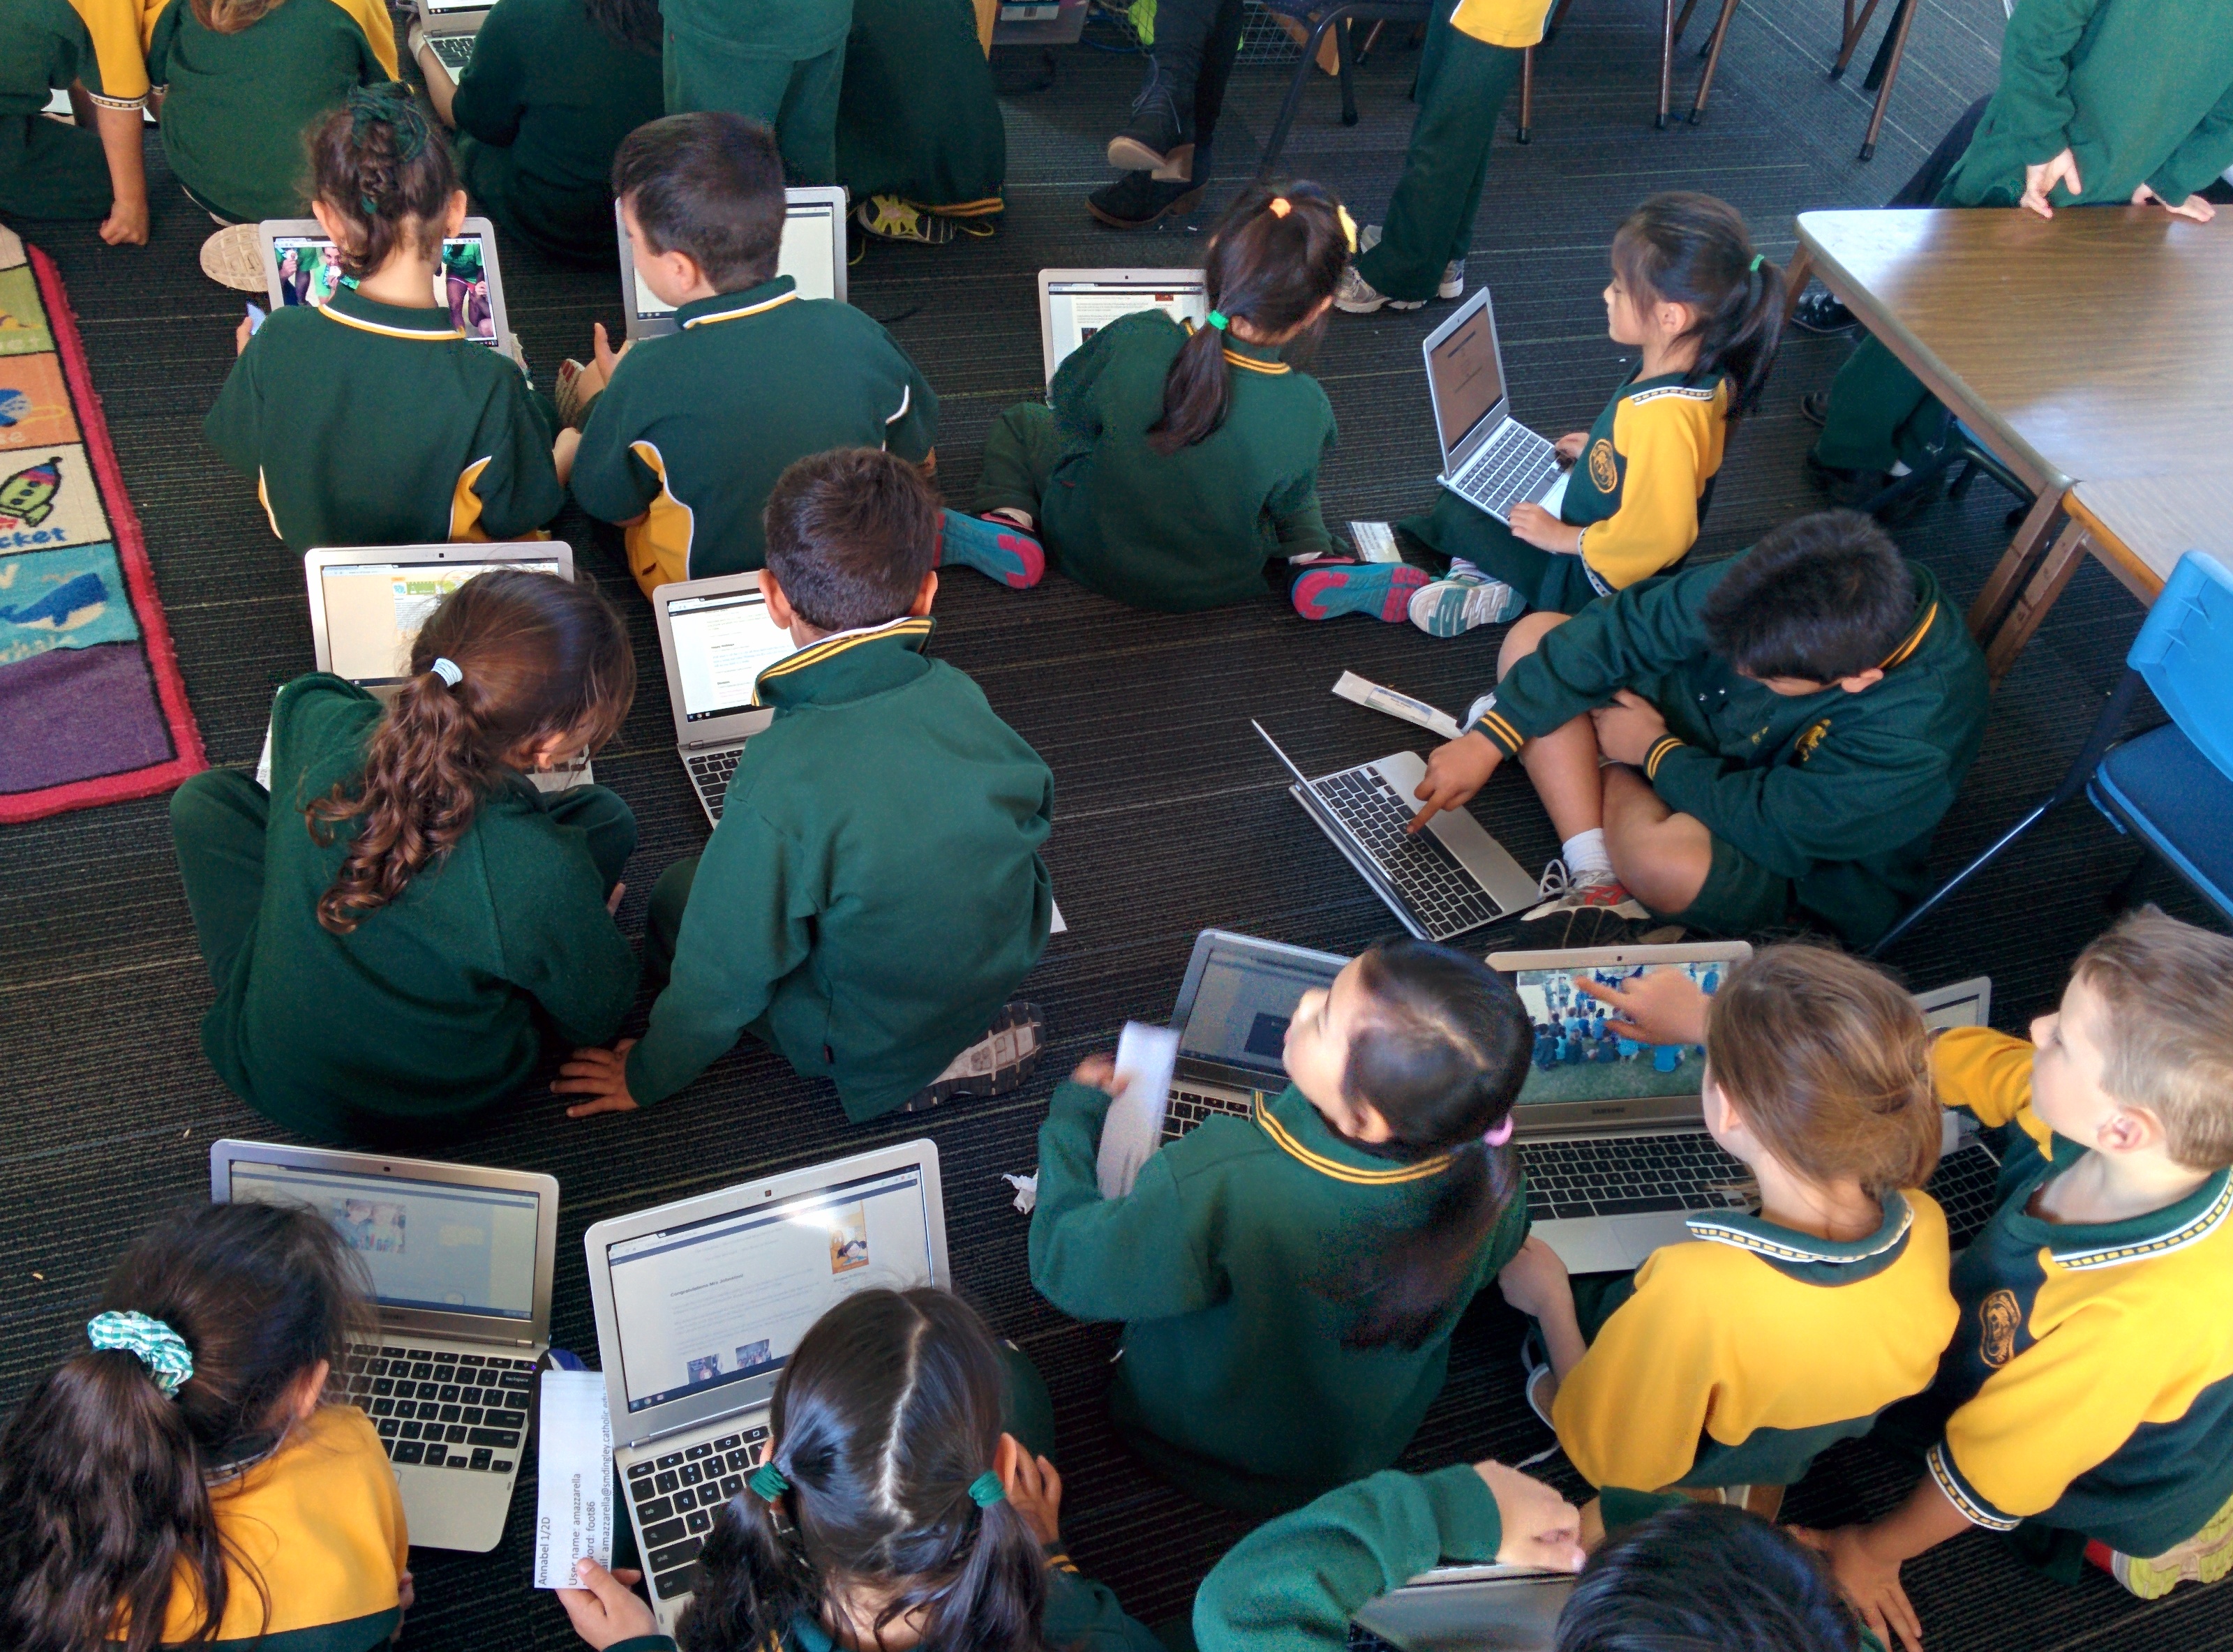
Once students have logged on to the Chromebook, they are automatically signed into to their Google accounts, have their pre-installed apps, extensions and bookmarks at their disposal. Most importantly, they are connected to the web in moments with a lightweight, and fast device with a hard keyboard.


Google Sites – Creation tips with Google Apps for Education

As part of my recent Google Education Trainer application, I created this 2 minute video which highlights tips and best practices when it comes to creating Google Sites in Google Apps for Education domains.

I used Camtasia to record the on-screen demonstrations, and Sony Vegas to produce everything else.

Another pre-requisite for the Google Education Trainer program is to have achieved the Google Educator certification, to which, I have attained. I found this process extremely valuable and useful for my own practice back at school. I would recommend anyone who is wanting to further their development and understanding of the mechanics of the various Google Apps on offer should study the comprehensive coursework and even take the exams.

Are you the best teacher you can be?

This year, our school is fortunate enough to be participating in the Visible Learning Plus program; a guided change process of professional development and practice. Visible Learning comes from John Hattie’s work in what is quickly becoming influential worldwide. This is no surprise as it is the largest collection and analysis into evidence-based research that investigates what actually works in schools when it comes to improving learning.

I have been interested in Hattie’s work for some time and have taken some of his principles on board, mainly around calculating effect sizes, providing feedback, and constructing meaningful learning intentions and success criteria for students. But I am excited that our school is undertaking this approach so that all teachers can think more deeply about the impact on their teaching and learning with their students.

The article Know Thy Impact is a great and succinct read about Hattie’s work. His three books are also well worth the purchase.

Earlier in the year our staff was inducted into the program. One of the topics of conversation was the Visible Learning Checklist for teachers, which is a set of mind-frames for teachers to consider in order to make an effective impact as an educator. One of the mindeframes, “I seek regular feedback from my students”, stuck out in particular for me. In the last few years I have come to realize the merit of asking students for feedback on the teacher, but I don’t think it has been regular enough.

So this year I have been looking at ways of seeking feedback regularly. Using Google Apps (mainly forms and docs) has been a great way to collect feedback from students. Once a form has been setup, it is sent via a URL shortener and given to students. Students can easily enter their feedback, and the collection for the teacher is an absolute breeze. It makes reserving 2 mins at the end of the class really worthwhile, as you explain to students that their feedback will in turn make you a more effective teacher.

For me, seeking feedback assists in answering two critical questions when it comes to reflective practise, “what makes you an effective teacher?” and “how do you know your effect?“. I believe that educators can empower themselves immensely by listening openly to what students are saying about their practises.

Today I am speaking at Teachmeet Melb @ ESA on the notion of seeking feedback from students with and without technology. The presentation is called “Are you the best teacher you can be?” and the slides can be found here or below:

Google Apps For Education – What is it (good for)?

Today I have been asked to speak at the CEOM Eastern ICT Network Meeting and discuss some of the ways that our school has been using Google Apps For Education. This presentation draws on some previous work around Google Forms for assessment, Google Sites for e-portfolios, and Genius Hour.

Today’s presentation is titled “GAFE – What is it (good for)?” and showcases some of our recent highlights and successes of using Google Apps For Education in transformative ways. The slides can be accessed here or below: